8 Tips to Optimize Images for Better Search Engine Ranking

Whether it’s a photo, an info-graphic, or an illustration, adding images to your site is a powerful way to enhance the reader’s experience. Our brains process visuals way faster than they do text, which may explain why articles including images get 94% more views than those that don’t.
The use of appropriate graphics for your content can help entice readers, sell products, and much more. Most importantly, they can improve your visitors’s overall experience, which is absolutely key when it comes to Search Engine Optimization (SEO). With images being such important site elements, it’s imperative that you get them right.
In this piece, we’ll offer eight practical tips to help you optimize images for a better search engine ranking. Let’s get started!
1. Find and Use the Right Images
Simply put, it’s important that the images you use are relevant to the topic. Images not fitting within the context of the surrounding content could be perceived as sending a confused message. Conversely, images placed near relevant text should help your ranking. It might be tempting to add decorative images, but if they’re not relevant to the topic, they don’t offer the opportunity to add SEO value.
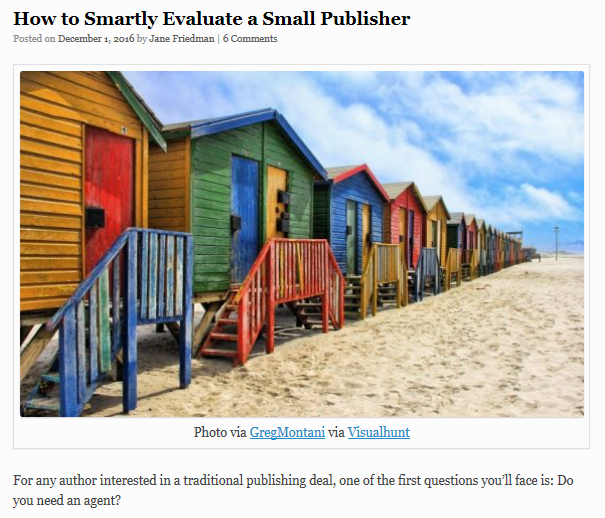
For example, the featured image used in this Jane Friedman blog post is nice to look at, but doesn’t directly relate to the post topic:
When it comes to finding the right image, you have lots of choice. Here are some popular options for sourcing images:
- Original photos: You can use your camera or smartphone to snap a high-quality image. It’s free, and completely legal!
- Stock images: Sites such as Pixabay or Unsplash offer free CC0-licensed images, or alternatively a premium site such as Shutterstock or iStock offers thousands of stock images to choose from.
- GIFs: Graphics Interchange Format (GIF) images are often used for short animated clips, and can add interest to your content or depth to tutorials. GIPHY has a huge selection of existing GIFs that may fit your needs, and they also offer an app for creating your own. Alternatives are ScreenToGif and GIFMaker.
- Design tools: Sites such as Canva, Stencil, and PicMonkey can be excellent alternatives if you want to create your own images. They offer many options to adapt images, create illustrations, play with text overlays, and more.
Ultimately, choosing the right images for your article will make the process of image optimization far easier. Let’s take a look at our next tip – that of using the right keywords.
2. Use Keywords in the Image Filename
Given that search engines can’t see images, they require descriptive text to ascertain what an image contains. Cameras, stock image websites, and other image sources often apply default generic filenames that don’t help search engines decipher the image. For this reason, it’s important to always rename each image that you want to include.
For example, a search engine will not be able to decipher this image of a lion unless it has a file name suggesting this is the case:
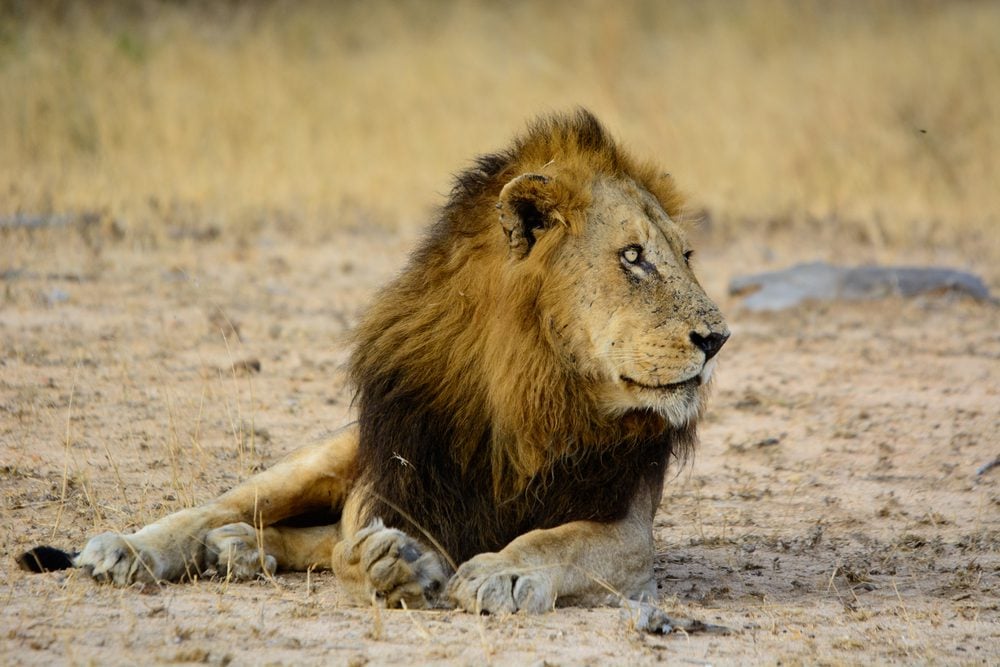
Of course, DSC987 would be an inappropriate, whereas lion would work well, particularly if that was a keyword you were optimizing for.
The filename gives search engines an indication of what the image contains, and also offers the opportunity to use relevant keywords. If you’ve selected appropriate images for your topic, inserting keywords into their filenames should make sense. However, there are some things to take into account when selecting an appropriate filename – most importantly making it readable for both users and search engines.
Let’s move onto a related topic – ‘alt’ text.
3. Optimize Your Image’s ‘Alt’ text
Alternative text (or alt) text goes one step further than optimizing the filename, offering a description of the subject matter along with the image’s relevance to the page. It’s used by search engines to determine the content of the image file, and to decide which images are most suitable to present in response to a search query.
For example, take the following image. Appropriate alt text here could be “A gray cat sleeping on a blue couch”:

Alt text is also used where the image itself cannot be seen. This may apply to users of screen readers, or people who have low-bandwidth connections that can’t display certain images. If an image doesn’t appear, you might see something like this:

As with filenames, if you have selected appropriate images, it should make sense to optimize your alt text too. However, it’s worth bearing in mind the dangers of keyword stuffing. Generally speaking, the same rules should apply to alt text as to the rest of your content – it should be grammatically correct and flow coherently, rather than sound forced or unnatural.
Adding alt text to WordPress is simple. Navigate to your Media Library, select your image, enter your description into the Alt Text section, then click Save:
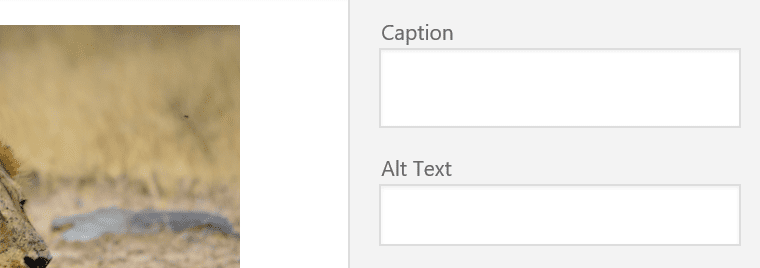
However, if you’ve already added your image to a post, you can simply click the image, select the Edit pencil icon, and enter your description in the Alternative Text section:
In both of these screens you’ll notice you also have the option to add a caption – which we’ll be talking about next.
4. Use Captions Correctly
Captions help an image to add further context to its corresponding text, and are separate from the main body of text. Take the following image:

Here’s where your caption would normally go!
People tend to read captions when scanning the page, and on average they’re read 300% more than the body copy itself. That being said, not every image needs a caption, especially if your surrounding text describes it accurately.
In addition, captions have a further SEO benefit – search engines favor images that have relevant content in close proximity. As with filenames and alt text, adding keywords to captions can help in this regard.
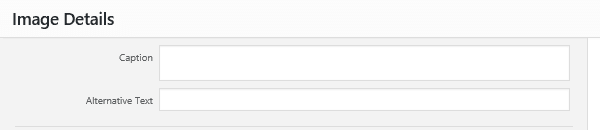
As with adding alt text, captions can be added either via the Media Library, or from the Edit pencil icon in your post or page.
5. Use the Right Image File Type
Different image file types are suitable for different uses. We’ve already mentioned GIFs, but there are two other popular formats:
One of the major differences between JPEGs, PNGs, and GIFs is their size and corresponding quality. This is important for SEO in terms of how file size affects page load times. Let’s take a deeper look at each in turn.
Firstly, JPEG files can be compressed without losing quality, so they are often used to store complex images and photographs in small file sizes. However, JPEG files do lose quality with multiple saves and edits.

An example of a JPEG image
PNG files on the other hand don’t degrade in quality with multiple saves. You often come across extremely large PNG files, but they can be compressed very small. They’re suitable for decorative images and images including text such as logos:

Finally, GIFs have small file sizes, don’t degrade in quality, but also don’t support as many colors as PNGs or JPEGs. They could be used for icons, text, or line drawings, but they’re mostly known as a way to offer small-sized animations:
Sometimes, you may need to convert your image to a different format, depending on your needs. To this end, there are lots of tools available to help you such as Online Convert, Convert My Image, and CoolUtils.
6. Reduce the Image’s File Size
Image file sizes are often far larger than you need them to be, due to the amount of information stored within them. Reducing the file size will reduce your page load time, which (as we found out earlier) is good for SEO. It will also save you some bandwidth, along with taking up less storage space on your server. What’s more there’s often an unnoticable effect on image quality.
For example, the following image is 621k in size:
However, by compressing the image using an online converter such as CompressJPEG, the file size drops to 73kB, with a negligible loss of quality:

It looks pretty good considering the file size has been reduced by 88%!
There are many online tools available to help you reduce your image file size. Some popular ones are Image Optimizer, Microsoft Office, TinyPNG, and Reduce Images Online. However, WordPress has a number of plugin options available too.
As for the actual optimization process, rather than walk you though it, our comprehensive guide will tell you almost everything you need to know on the subject.
7. Resize Your Image
Aside from reducing your image file size via online tools or plugins, you can also shrink it by resizing your image. This reduces the width and height of your image, decreasing the file size, and again improving page load times. However, some file formats (such as PNG files) don’t respond well to resizing, so you may want to convert the image first before resizing.
When you have an image in the correct format, it can be resized before uploading to WordPress via tools such as Adobe Photoshop or Microsoft Paint, or you can do it within WordPress itself.
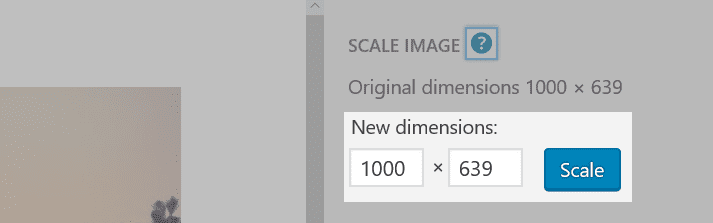
To resize it within WordPress, open the image in your Media Library, select the Edit Image button, and in the resulting screen adjust the image dimensions under the Scale Image section:
If your images have already been added to your post, you can also resize them by accessing them via the Edit pencil icon. However, bear in mind that this doesn’t reduce the file size – so offers none of the gains we’ve outlined.
8. Create Image Sitemaps
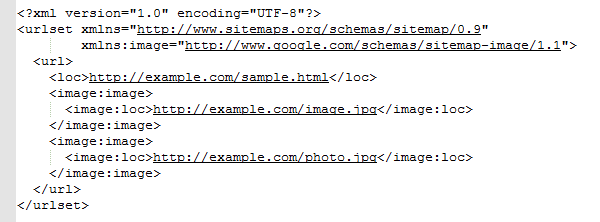
Sitemaps give search engines more information about your website’s structure. They typically include a list of your web pages, how they are organized, and the metadata associated with those pages. Google also offers the opportunity to add extensions to your sitemap, enabling you to add information about the videos, images, and news content on your site. An image sitemap extension might look like this:
As far as SEO goes, image sitemaps can help you indicate to Google which images you want it to crawl and index. Sitemaps can also help search engines to discover images it might not have otherwise found – although by following our advice throughout this piece, you should have no problems to this end!
If you don’t yet have an image sitemap, Google provides instructions for creating your own, and we’ve also looked at the subject in the past.
Conclusion
Images have the potential to help or hinder your search engine ranking, but are often an afterthought when publishing content. Choosing the right images, optimizing their format, and adding accurate descriptions can all help to improve your user’s experience and boost your search engine ranking.
In this article, we’ve provided you with eight tips to help you optimize images effectively. Let’s recap them quickly:
- Find and use the right images.
- Use keywords in the image filename.
- Optimize your image’s alt text.
- Use captions correctly.
- Use the right image file type.
- Reduce your image’s file size.
- Resize your image.
- Create image sitemaps.
Do you have any tips for optimizing images? Let us know in the comments section below!