How to Move Your WordPress Website to a New Host With No Downtime

Moving your website from one host to another is often touted as a complicated process, but it can actually be quite simple. All it takes is a few steps, and your site will be up and running once more – this time on a different (and better) host. The only trick lies in pulling off the process with no downtime.
If there’s one thing you never want your website to be, it’s down for the count. The good news is you’ll only need five steps – as we’ll show you in this piece. However, before that let’s take a moment to talk about the dangers of downtime, and what you need to do before migrating your site.
Why Avoiding Downtime Is Important When You Move Your WordPress Website
One of the first questions you may ask yourself is: What’s the point of going through these steps just to avoid a little downtime? To answer this, we need to talk about the many ways that downtime can affect your website:
- It could cause confusion. A lot of users might be confused (maybe even believing you’ve shut down) if they find your website isn’t available – after all, every site should be up 24/7.
- You could scare visitors away. One of the best things about the internet is the number of alternative sites available for practically anything. If your site is down, users may consider their alternatives.
- It looks unprofessional. There are plenty of legitimate reasons why a website might experience downtime, but most visitors aren’t aware of them. All they know is your site isn’t there when they need it, and that can make you look unprofessional.
The good news is, you don’t need to make a massive effort to avoid downtime while moving your WordPress website to a new host. Think about it as the cherry on the migration cake – since you’re already migrating your site, you may as well cover every base.
What You Should Consider Before You Move Your WordPress Website
It goes without saying that you can’t migrate a site without having somewhere to move it to. It means finding a new web host, which may require some research if you’re looking for a WordPress-friendly platform.
Once you’ve found and purchased server space on your new host, you’ll also need to pick a migration tool to get the job done. We’re big fans of Duplicator
, and we’ve extolled its virtues in the past:
However, another popular plugin is UpdraftPlus. This is primarily a backup tool – and is incredibly popular – but it can also be used as a migration tool through the purchase of one of its premium plans.
It’s also worth noting that you shouldn’t install WordPress on your new host before the migration. The plugin we’re going to use will take care of the entire process for you, so let’s move right on to the tutorial section.
How to Move Your WordPress Website to a New Host with No Downtime (In 5 Steps)
Before we get started, it’s worth noting a lot of web hosts offer free migration services for new clients. However, they might not be able to guarantee 100% uptime during the process.
On the other hand, if you don’t mind tinkering with WordPress, install and activate the Duplicator plugin. We’ll be using this throughout because it’s free and easy to use, so let’s get started!
Step #1: Export a Copy of Your Website
Once installed, a new Duplicator tab will appear on your WordPress dashboard. Click on it and select the Packages > Create New option:
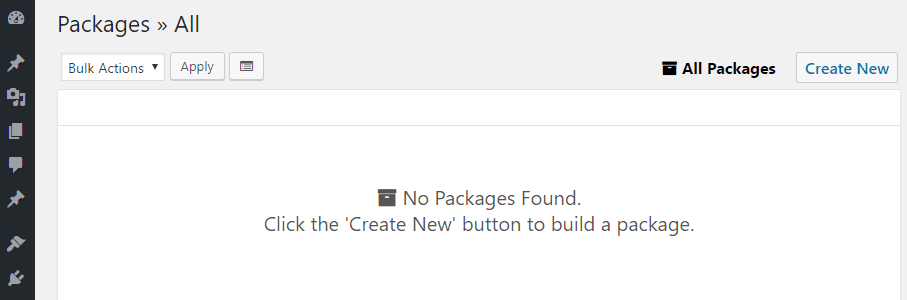
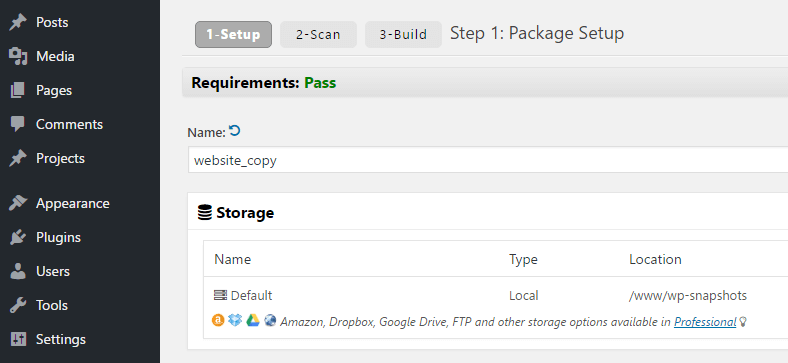
Duplicator refers to the copies of your site as ‘packages’, and you can create an almost unlimited number. Each package includes two components – your site’s files and an installer. For now, give your package a descriptive name and use the default settings under the Setup tab to store it on your server:
Now click on Next, and give the plugin a few seconds to scan your site and make sure everything’s working properly for the package to be created. At this stage, a few warnings might pop up depending on your site’s settings:
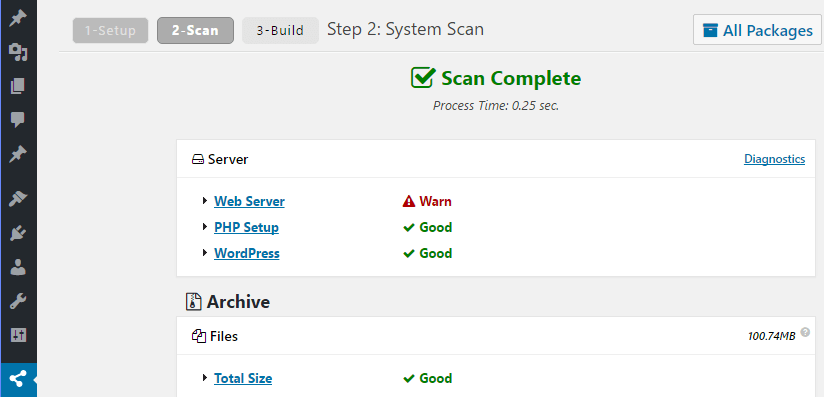
If so, you can either expand each warning and follow the instructions to fix it, or check the box at the bottom of the page for the build to proceed regardless. Whatever you choose will be based on your specific needs. Once you’re ready, click on Build.
Depending on the size of your website, this process might take a few minutes. When it’s done, you’ll see a Package Completed message pop up. You’ll find two buttons underneath – one to download your archives, and another for the installer.
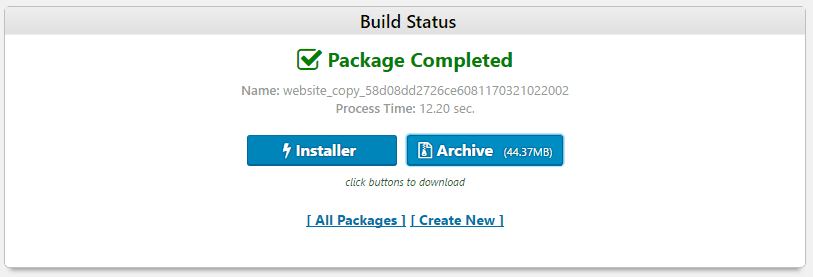
Click on both and save them to your computer. When complete, you’re ready for step number two. It’s worth noting that all of the steps beyond this point will deal only with your new site, so you can forget about this one until the migration is complete.
Step #2. Upload Your Copied Site to Your New Web Host
Naturally, neither of those files are going to do much good sitting on your hard drive, so the next step is to get them up on your new server.
To do this, you’ll need to use a File Transfer Protocol FTP) client – we recommend FileZilla. When you signed up to your new web host, you should’ve received a set of credentials for accessing your FTP server. If you didn’t, check your host’s cPanel for them (they’re normally prominently displayed), or contact the support team as a last resort.
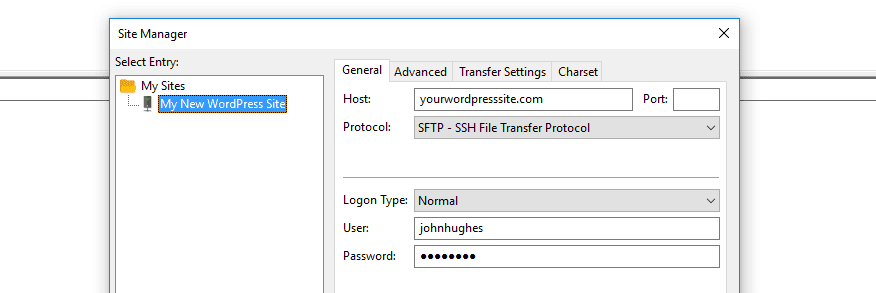
Once you’ve gained access to your FTP server, navigate to the public_html folder (it could also be called root or www). Enter this folder and use FileZilla’s upload function to move both your Installer and Archive files to your server.
If you’re planning to host multiple websites on your server, you’ll also need to create an add-on domain. The instructions for doing so are simple, but could differ depending on your host. Once you’ve done this, your Installer and Archive files will need to go into the correct folder within public_html. For example, if your add-on domain is called yournewwebsite.com, you’d need to upload the files to the public_html/yournewwebsite/ directory.
Both files should now be where they need to be, but we aren’t going to use them yet. First, we need to take care of your hosts file.
Step #3: Modify Your hosts File
Most operating systems enable you to map specific URLs to IP addresses manually using something called a hosts file. In this step, we’re going to map the domain of your existing WordPress site to your new server’s IP address.
Doing this will enable you to access your new web host and migrate your website before changing your domain’s nameservers. Otherwise, we’d be pointing our domain to a server that wasn’t set up yet, so all users would see is a broken site. By migrating our website beforehand, we can ensure there are working copies on both our old and new servers while the changes to your domain propagate, and modifying your hosts file enables you to do this comfortably.
While this is possible in both Linux and macOS, we’ll be using a Windows machine. To access your hosts file in Windows, navigate to C:/Windows/System32/drivers/etc/ and open the hosts file in question using your preferred text editor. Once you’re in, you need to add both your new host’s IP address and your existing domain to the file:

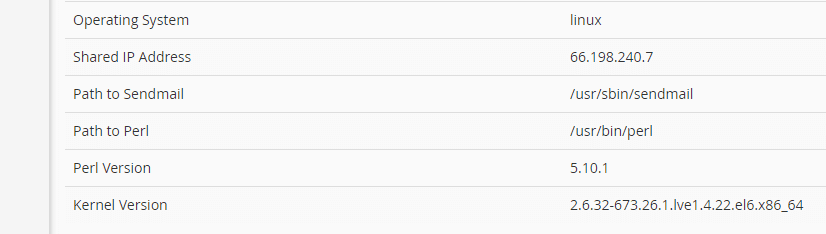
If you’re not sure what your new server’s IP address is, you can always find out by accessing your cPanel and checking out the Server Information section. Depending on which type of plan you’re using, you may be looking for either a shared or dedicated IP, so keep your eyes peeled:
Once you’ve mapped your server’s IP address to your existing domain, save the changes to the hosts file. Now, when you type that address into your browser, you’ll be redirected to your new web host. However, because you haven’t yet set WordPress up, you’ll see a placeholder:
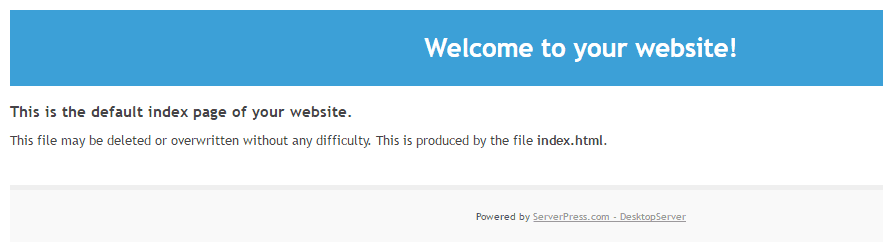
Our penultimate step is to complete the migration, so let’s take a look!
Step #4: Run Your Installer and Complete the Migration
Next we need to execute the installer we uploaded to our new host’s root directory. To do this, navigate to www.yourwordpresssite.com/installer.php, replacing the placeholder domain with yours.
At this stage, (and depending on your host’s setup) you may need to set up a database and a corresponding user for your new website through your web host’s cPanel. Then, enter the name of that database, as well as the user and password you chose into the appropriate fields within Duplicator:

When you’re done, click on the Test Connection button to make sure everything is working as it should. If it isn’t, your database might not get imported correctly, so don’t skip this step! Once everything is ready, scroll to the bottom of the page and click on Run Deployment.
The plugin may take a couple of minutes to do its thing. Once it does so, it’ll ask you to confirm your new site’s path and title, and you’ll get the option to set up a new admin account as well:
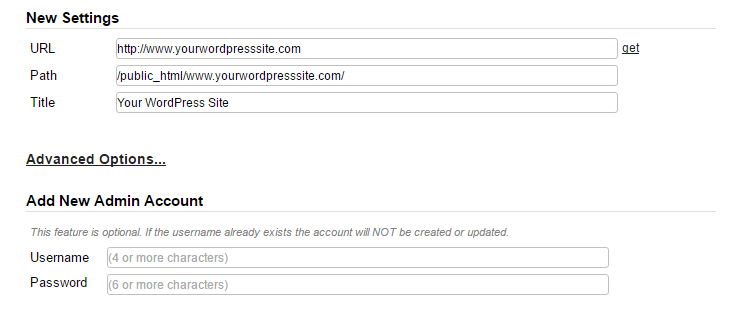
After making sure your settings are correct, advance to the next screen. Here, you’ll get the option to test whether your site is working correctly:
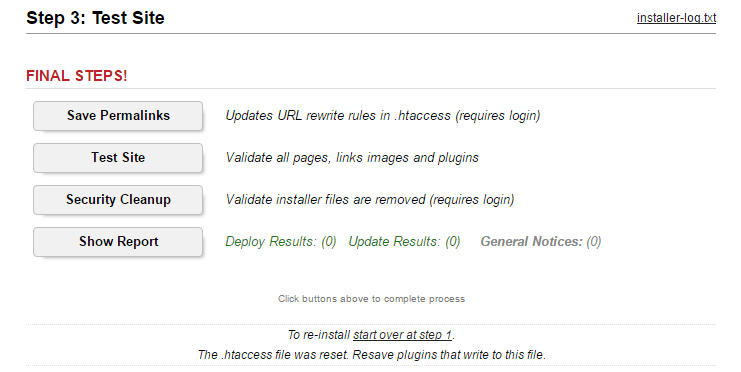
To complete your migration, click each of the buttons displayed above in order. By the end, your website will be ready and the Duplicator installer will remove any leftover files from your server (or notify you if it can’t do so automatically). Now, access your site and double-check that it’s working exactly as it was before the migration.
If all is well, it’s time to proceed to the last step.
Step #5: Update Your Domain’s Nameservers
The only thing left to do now is to update your domain’s nameservers to those of your new web host, which should appear either within cPanel or their knowledge base. Since your site is now available on both servers, your visitors will be guaranteed access to it while the changes propagate.
If you used a registrar such as Namecheap to set up your domain, simply find your new web host’s nameservers and update them according to the instructions on your chosen platform. You can also do the same if you registered your domain through your previous web host. To do this, log into your old web hosting account and look for the section that lists your domains.
Each web hosts deals with this process slightly differently, but the result is the same. Essentially, you need to locate your existing domain and look for an option to update its nameservers, for example:
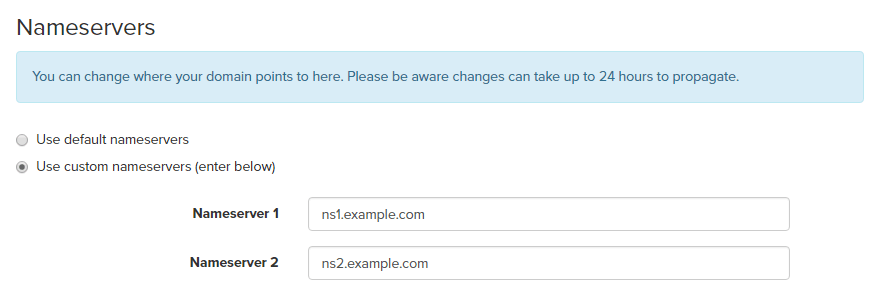
Next, you’ll want to choose the option to use custom nameservers and replace your existing ones with those of your new web host. Afterward, save the changes and wait for them to propagate.
To avoid confusion, you’ll also want to access your hosts file again and delete the line you added during step number three. After all, you’ll soon be able to access your migrated site without it!
Conclusion
Moving a WordPress website is often necessary, but it remains a somewhat intimidating procedure on paper. In reality, the process can be deceptively simple. Once you’ve migrated your first WordPress website – while avoiding any downtime, no less – you’ll be able to do it again without breaking a sweat.
In this piece, we’ve shown you how to move your WordPress website with no downtime. These are the five steps you’ll need to carry out:
- Create and export a copy of your website.
- Upload the copy to your new host.
- Modify your hosts file.
- Run your installer and complete the migration.
- Update your domain’s nameservers.
Do you have any questions about how to move your WordPress website to a new host? Ask away in the comments section below!